Severus
Danger, Will Robinson, Danger! Warning: extremely long post ahead!
Yes, Severus. As in, Severus Snape. As in, Harry Potter is so cool and I’m such a geek that I’ve named all my computers after characters, and even spells from the Harry Potter universe.
The practice to name computers after a specific theme isn’t new (but why people name hard drives is a little beyond me), but some take it one step further by choosing a name not only from a specific theme, but a name from that theme that has meaning when applied to their computer.
Take my former computer Protego, for example. In Harry Potter Protego is a spell that produces some magical barrier that protects the caster from harm (to a limit). My computer Protego was somewhat like that – sure, it wasn’t some sort of magical barrier, but being an IBM xSeries sever meant it had a very decent, durable case – which earnt it the name Protego. I didn’t say the names had to be an exact match! :p
All of my past computers have had names that relate to the computers themselves, whether it be a physical characterestic or otherwise, no matter how vague the connection, they had names that related to the computer. That ended with Severus, however – try as I might, I can’t seem connect anything that I can associate with Severus Snape to my new computer. It’s just too hard!
Introduction now out of the way, it’s now time to get some background info in before we dive into the nitty-gritty. Over TWO THOUSAND words about your new computer, you say? Easy, I say – don’t worry, there will be an abundance of pics later on for those of you with an aversion to lots of words.
So I first got the idea to do a i7/1366 build all the way back in September/October 2009. At the time Fawkes was only a couple months old – as friends have since told me, buying into a 775 system at that time probably wasn’t the best idea ever, but at the time it was definitely the most cost-efficient. Bang for buck and all that. Anyway, 1366 systems were still pretty expensive, so I put it out of my mind.
December that same year rolled around, and with it, new ideas for a i7/1366 system. Sometimes I think I’d build a new computer every other week if I could, but this time I was pretty serious – the upgrade to i7 was lookng very tempting indeed. It wasn’t until the middle of January 2010 that I actually made up my mind about upgrading, though – before that there were several stages of uhm-ing and ahh-ing before I made the final decision.
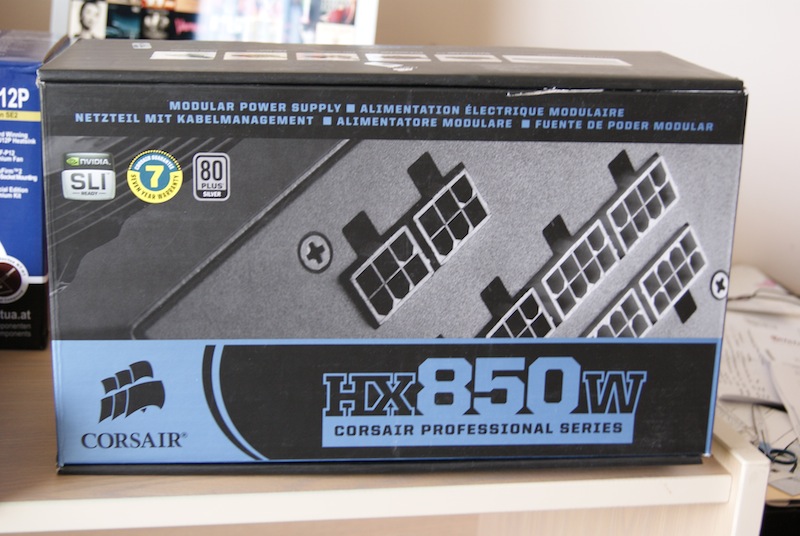
So, first thing on the list was a new PSU, and for this task I chose the Corsair HX-850. Corsair PSUs seem to be the current flavour-of-the-month where ever you turn (but that’s changing fast), and based on current power usage requirements I decided that the 1000W would be overkill for my needs, and that the 850 would be leave plenty of headroom for future endevours. $240 later and I was the proud owner of a new Corsair HX-850. 7 year warranty, thank you very much.
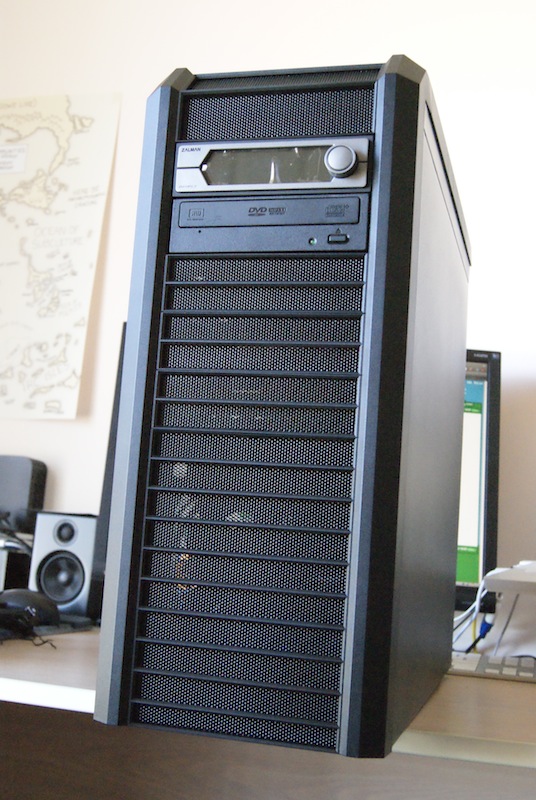
Next, I needed a new case. My current Cooler Master 690, while awesome for it’s time and great bang for buck, was getting long in the tooth and needed to be replaced. I flirted with the idea of a CM Storm Scout, or even the Sniper, but after looking and discovering the Lancool (apparently a subsidiary of Lian-Li) K62, I decided that that was the case for me. Excellent cable management, excellent vibration dampening on everything, plenty of fans and what is undoubtedly the best tooless PCI system I’ve ever seen sealed the deal.
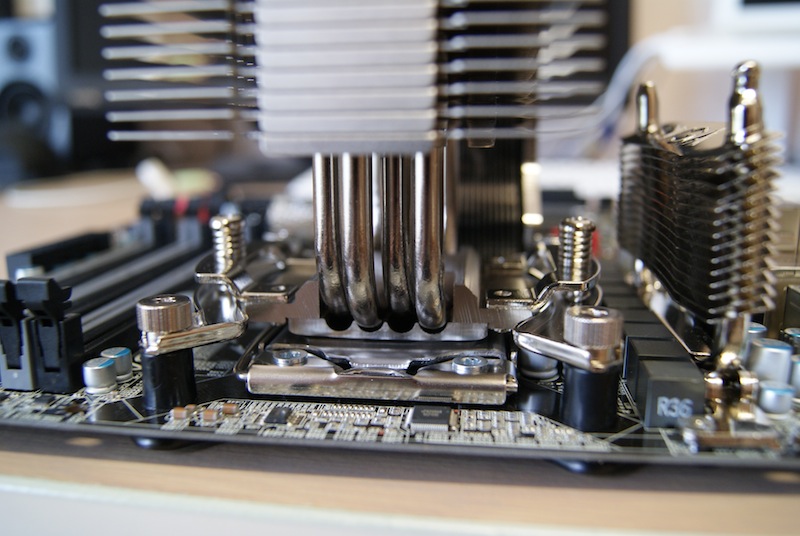
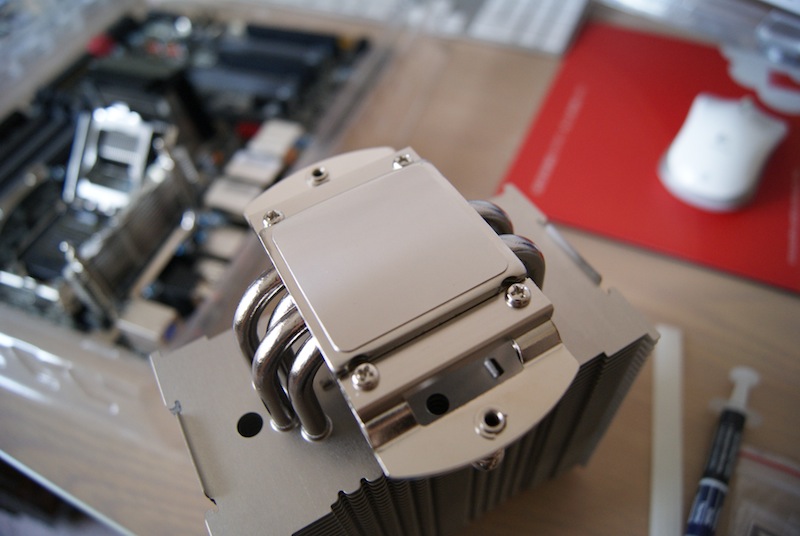
Shipping the case from PC Case Gear was gonna cost a bundle, so I also picked up the Zalman MFC3 fan controller, Noctua NH-12UP SE2 heatsink/fan, as well as some velcro cable ties. Some -$380 poorer, and there I was.
Now, the motherboard. The one part of any computer system that will essentially dictate your upgrades for the next couple of years, and the one part that everything is built around. no kidding around here – by cheapening out on your motherboard, you’re only crippling yourself for the future. Finding a mobo is no easy task – different features, layouts, designs, all make your job that much harder. Do you buy one with USB3 support now? What about SATA III? Crossfire? SLI? So many questions, so many specs, so many headaches. At the end of the day though, it’s about finding a motherboard with a combination of features you want, with the least amount of flaws as possible. Reading all the guides said that Intel’s X58 chipset was pretty fautless in preformance, with little to no difference across the various board manufacturers.
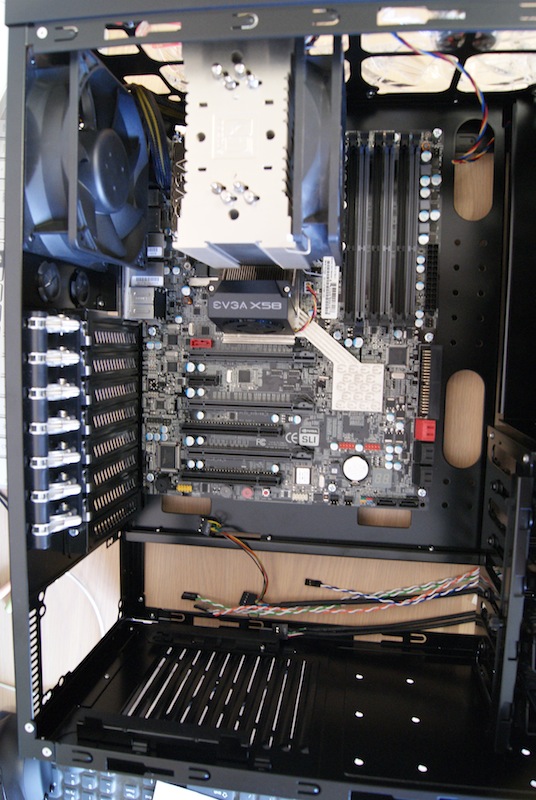
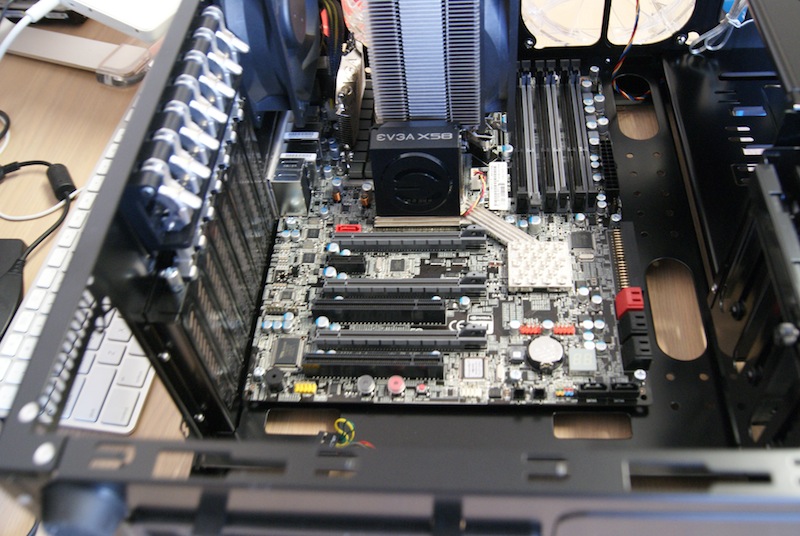
After much internet research I managed to settle on the EVGA X58 3X SLI (E758) board. Offerring 16/16/8x PCIe performance was as good as the X58 chipset could deliver, without going up to a board with an additional Nforce 200 chipset for the extra PCIe lanes. A good number of SATA ports, exellent board design, and a nice feature set rounded out the package.
Unfortunately, the only issue was price. The E758 is seen as an “enthusiast” level board, and as such, carries an “enthusiast” level pricetag, retailing for over $500 here in Australia. EVGA also have this weird thing where they don’t offer a lifetime warranty on any part in Australia – forking out $500+ for something with a 3 year warranty just didn’t seem like a sensible option, so that’s when I chose to import one from the US. Newegg were offerring the E758 for US$280, so I pounced (via PriceUSA), safe in the knowledge my mobo would be covered by a lifetime warranty (albeit in the States, but shipping it back isn’t such a huge issue). Shipping cost me an extra $80 or so, and so a grand total of $400 later, the EVGA E758 was mine.
The time eventually came to order a CPU and RAM for my new system, and seeing “your item has cleared customs” only expedited that process. Since the i7 920 was discontinued in favour of the i7 930, I went for that. At $350, it was exactly the same price as I was going to pay for the 920, so I figured that was a good buy.
RAM was a little more tricky in that I had to find memory which matched the QVL on the EVGA website. I wanted 1600MHz memory, but beyond that I was clueless. Eventually settled on Corsair Dominators with 8-8-8-24 timings, because going to C7 just wasn’t worth the extra expense. Another $300.
<side rant>
Trying to manage courier deliveries is a bitch when you’ve got stuff to do during the day that involves being away from home. If you miss the courier, you then have to arrange delivery to either another place (most couriers won’t do this), or to a time that suits you better. With Aus Post, however, all that disappears – if you miss the package, it’s simply held at your local PO instead of the courier depot (which is usually as far away from civilisation as possible), and you can go pick it up without too much hassle within normal business hours. Yes, some of the inconvenience may cone from my inability to drive (actually, I’ll rephrase that, my inability to drive without passing some arbitary test to prove that I can), but, things should just be easier. A note to all good computer stores: have an option for Aus Post, PLEASE. Hell, ship via Aus Post by default unless told otherwise! My favourite computer store of all time, PC Case Gear, ships via Aus Post, and I love them for it!
</side rant>
Anyway, all the parts arrived, and on Wednesday last I had an excellent time putting everything together. The hardware side of things took me the better part of the day, and it wasn’t until dinner that I realised I hadn’t eaten anything all day. Time flies when you’re having fun! 😀
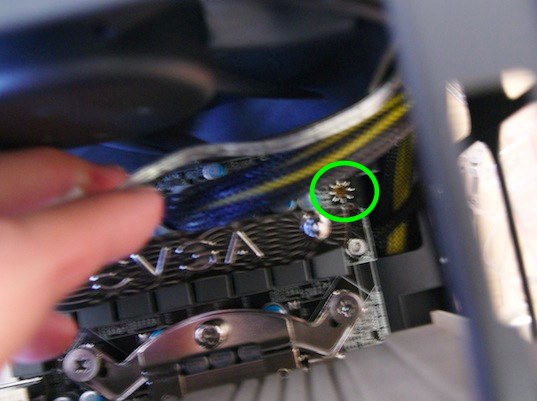
Putting it together wasn’t so bad – putting the Noctua onto the mobo was the hardest thing I’ve ever done in my life, and throughout the process I managed to get thermal paste in my hair (yeah, don’t ask. Just don’t ask…)… it was horiffic. If I thought putting the Noctua on was bad, attaching the mobo to the case was even worse – not because there wasn’t enough room, but because the components/locations of screws made it super-fantastically awkward to put some screws in. Had I decided to attach the Noctua after attaching the mobo to the case I would have been completely screwed, if you’ll pardon the pun. The rest wasn’t so bad, cable management was a bit of a nightmare, and I had to use some velcro cable ties to tidy it up (and the side panel only fits with a lot of encouragement), but all in all, one of the better cases I’ve worked with.
If you’ve read this the whole way through, congratulations! Before you’re rewarded with pics of the build, I do have a couple of final annoyances which I’ll attempt to detail briefly (haha, oxymoron).
One, the MFC3 says it will output 4-11V DC at a max of 0.7 amps per channel. Which is identical to the MFC2’s specs. The annoying thing is, the MFC3 will not run my Scythe Ultra Kaze 3000rpm fan at it’s rated speeds. The Scythe is requires 12V DC and 0.6 amps, but I know it’s not the fan as it runs fine when connected to a 12V molex plug, just not on the MFC3. Hugely annoying as it worked fine previously in my previous system under a MFC2, just unsure why it doesn’t work in my current build. Initial testing says it could be something else because when I swapped out my MFC3 for the MFC2 that I had in my old system, it didn’t work either. Go figure. Current solution is to swap out the Scythe for a lower-powered variant, like it’s 2000rpm little brother. Still, annoying as my 3000rpm Delta attached to the Noctua pushes air through the heatsink, through some heatsink attached to the VRMs, at which point my exhaust fan can exhaust it out. Bah.
Two, I’m undecided whether the person who designed the K62 should get a medal or be shot, because the power-on LED connector from the top panel to the motherboard has a three-pin wide connector, even though only two pins are used to complete the circuit – and of course, they’ve used the two pins on either side, leaving one in the middle free. Most motherboards that I’ve worked with have a two pin power-on LED connector, so what’s with the deviation, Lancool? That’s uncool – as a direct result, my power-on LED doesn’t work. Not a huge deal as I can always tell when my system is on (the three 140mm fans with blue LEDs help with that), but it’s still annoying. Current proposed solution – none as yet, but I feel like preforming some ghetto mod. Mmm, danger.
Third and final niggle/annoyance I can think of for now is that I’m possibly having some BIOS relates issues. Nothing serious, but whenever SATA is set to AHCI mode and I’ve got the CDROM as the first boot device, hard drives as second, it won’t boot. Just hangs on “looking for system disk” or some such, and then comes back with “no system disk inserted, press any key to restart”. It’s like it forgets to look on the hard drive to boot. However, setting the SATA mode to IDE with thr CDROM device set to boot first works fine, as does setting SATA to AHCI with the hard drive as the first boot device. I’m stumped. Current possible solution: I could flash the BIOS to the latest version, but I don’t want to do that if I don’t have to. Not currently that big a deal, only becomes an issue if I want to boot from CD (need to change BIOS settings, then boot from CD).
Overall, though, I’m very happy with my new system. It looks awesome, and seems to work (fairly) well. Pretty much everything I could ask for in a new computer system, really.
Without further ado – a more complete collection of pics can be found at my MobileMe Gallery.
